How to set up an electoral event
The electoral event is the set of ballots in a voting session and allows operations to be performed on all ballots simultaneously.
To add a new electoral event, all you need to do is click on the "+ Event" button from the tenant dashboard:
 The event setup wizard window will open.
TITLE
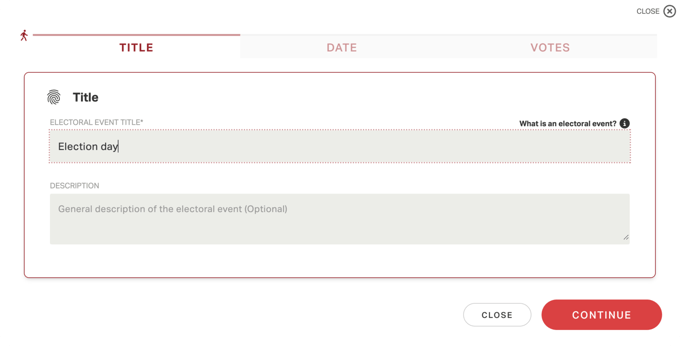
The first section should be filled in with the title of the electoral event (mandatory) and a description (optional):
 To proceed, click on "Continue."
DATE AND TIME:
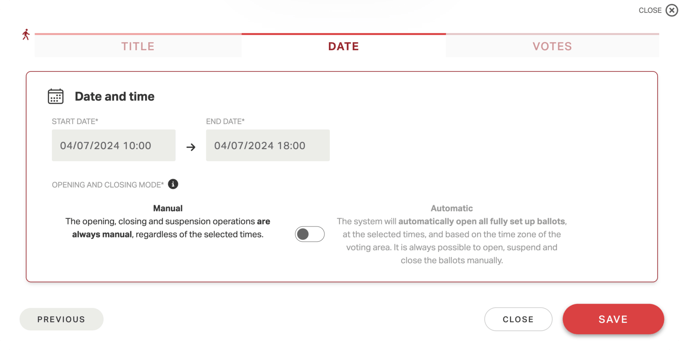
In the next section, you must enter the starting and ending date and time of the electoral event.
These fields are mandatory and the start date cannot be earlier than the current date and the end date cannot be earlier than the start date. The date field can be filled in from the keyboard or by clicking on the calendar icon.
These fields are mandatory and the start date cannot be earlier than the current date and the end date cannot be earlier than the start date. The date field can be filled in from the keyboard or by clicking on the calendar icon.
If the dedicated module will have been activated, you will also be able to choose whether to open the votes in manual mode - i.e., opening the votes manually - or in automatic mode. In the latter case, the votes will open automatically at the chosen time, but it will still be possible to manually act on the opening and closing of the vote.

To confirm the main details of the electoral event and proceed with the setting up of the related ballots, click on "Save." A pop-up will appear confirming that the event has been successfully set up.
BALLOTS
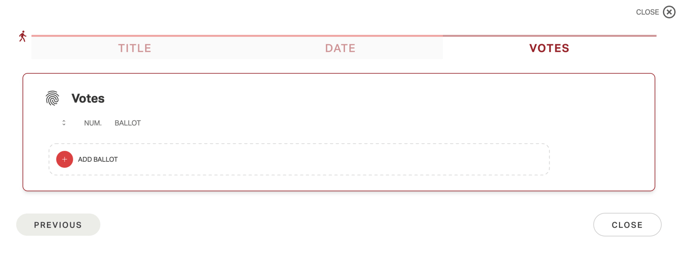
You can add ballots immediately after creating the electoral event, in the third section of the window, by clicking on "+ Add Ballot" and following the wizard.

Alternatively, you can return to the dashboard and add ballots at a later stage.
To do this, click on "Close."
To do this, click on "Close."
At this point, the event will be visible in the tenant's dashboard.

NOTE: Once the event has been set up, it is possible to edit the event configuration by clicking on the "1: Configuration" button, or you can delete an electoral event until before credentials are sent.