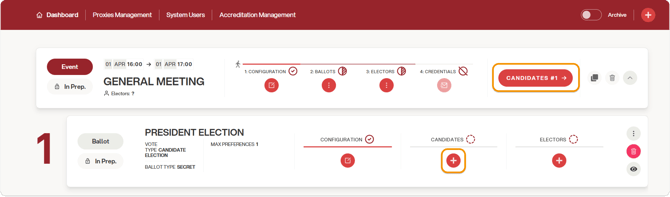
You can add candidates to a ballot by indistinctly clicking the "+ Candidates" button in the summary section of the ballot or the "Candidates #1" button, if any, to the right of the summary section of the election event:
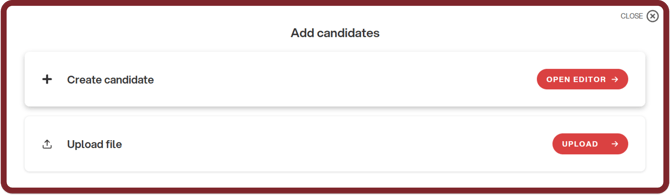
Once one of the two buttons is clicked, the candidate entry window will open, from which you can choose whether to add candidates manually or by uploading an excel file:
MANUAL ENTRY
In the manual candidate entry window, First Name and Last Name must be entered mandatorily, while additional information such as date of birth or a brief description may be entered optionally.
The order in which candidates appear on the ballot can be changed. If it is left at "0", the system will show candidates in alphabetical order by last name.
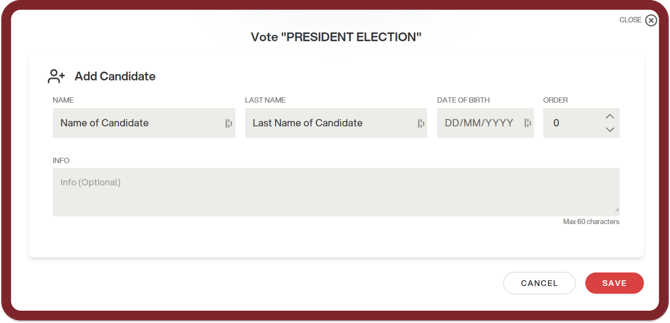
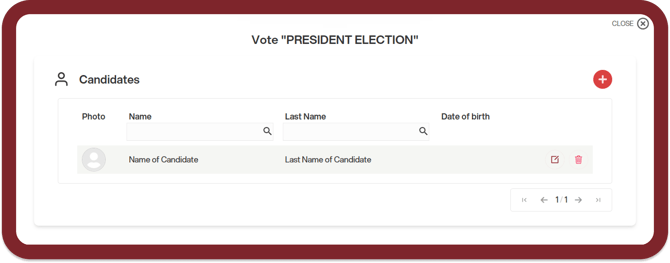
Once the candidate data is filled in, click "Save." The summary window of candidates entered so far will open; to proceed to add more candidates, click "+" and repeat the procedure.
CANDIDATE UPLOAD WITH EXCEL
In the case of ballots with a large number of candidates, it is recommended to upload them by filling in an Excel file, from the Upload window:
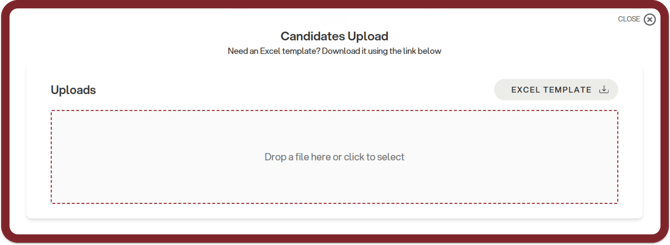
From that page, you can download the Excel template with the fields to be filled in by clicking on "Template excel".
The file is named import-candidates.xlsx and contains the following fields:
- Surname: mandatory field
- Name: mandatory field
- Birth date: optional field to be filled in with the date of birth in DD/MM/YYYY format
- Description: optional text field
- Ordering: mandatory field that determines the order in which candidates appear. If set to 0, candidates will be shown in alphabetical order by last name.
- Formal candidate: optional field

Once filled in, to upload the file drag the file to the appropriate box in the upload window or click on the box to open a file upload screen.
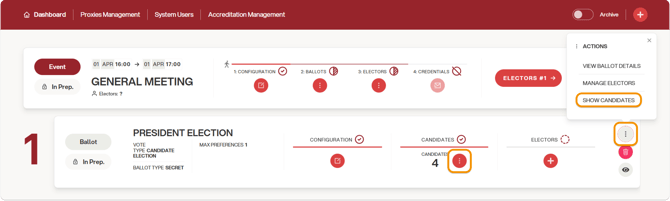
You can check the uploaded candidates, change their details or add more from the summary section of the ballot, or by clicking on "Show Candidates" from the button on the right side of the section:
Uploading candidate photos
To upload candidate photos, after adding them to the platform, you need to click on “Manage Candidates”: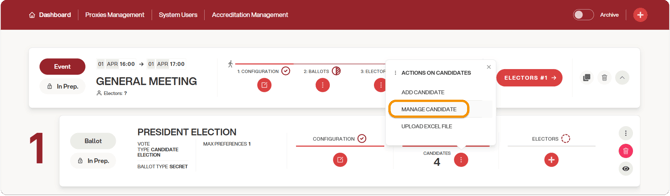
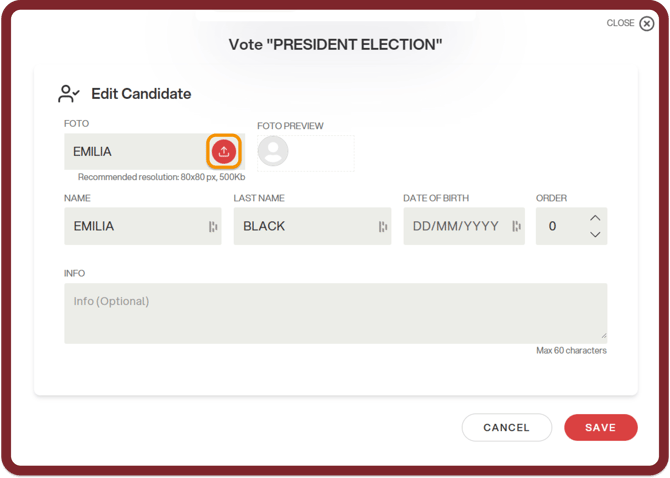
Then, next to the candidate, click the edit icon:
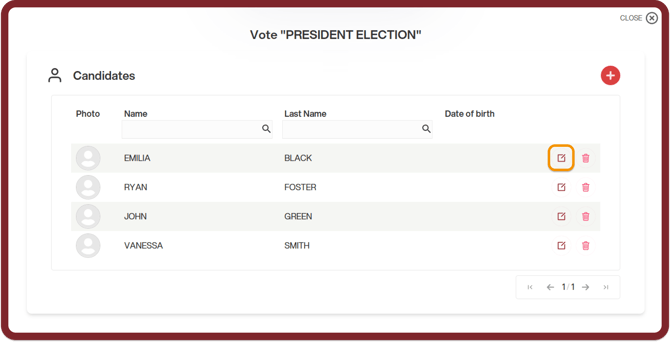
Next, proceed with the upload using the designated button, and then click “SAVE”:
To bulk upload candidate photos, follow the procedure in this article.